
0 ITEMSVIEW CART

Hot


✓
Expert Support
✓
Full Speed
✓
100% Working
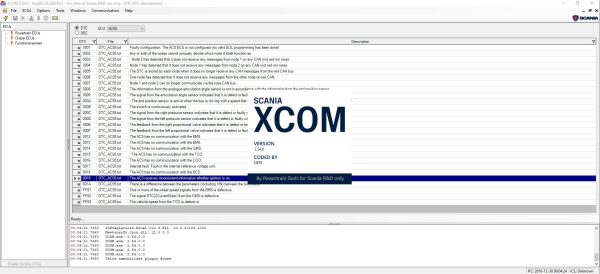
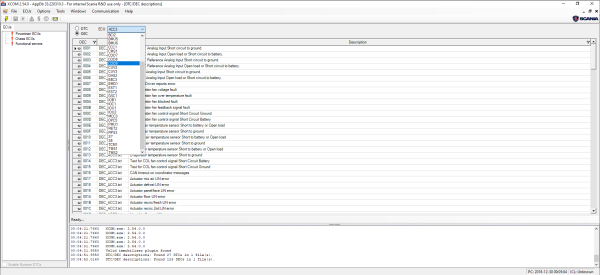
Scania XCOM 2.54.0 Programming
This is a diagnostic program. You will need this when you are a technician.
Price range: 50 through 100 USD
- Description
- Additional information
Description
Scania XCOM 2.54.0
Type of Program: Diagnostic & Programmer Software TOOL
Type of Machine: Trucks and Buses
Interface Database Languages: English
VCI Interface: Kvaser
OS: Tested on Window 11 64 bit and Window 10 64 bit
How To Install: Present
Scania XCOM supported ECU
- Engine management system (EMS)
- Gearbox management system (GMS)
- Retarder system (RET)
- All wheel drive system (AWD)
- Clutch Control (CLS)
- Exhaust Emission Control (EEC)
- Coordinator (COO – COO7)
- Bodywork system (BWS – BCI1)
Scania XCOM supported DTC
- EMS (S6, S7, S8)
- GMS (OPC4, OPC5)
- RET (RET1, RET2)
- AWD (AWD1)
- EEC (SCR1, EEC3)
- COO (COO6, COO7)
- HMS (HMS1)
Other Scania XCOM functions
- SCR turning ON/OFF
- EGR turning ON/OFF
- Immobilizer Enable/Disable
- Truck power increase
- ECU recovery
- ECU reset
- ECU unlock without PIN
User GUIDE
1)When using a VCI3 remote connection (i.e. not with the cable), see
chapter “VCI3 remote connection” that describes how to setup the
VCI3, and how to connect to it through the Scania network or
AdHoc
2) Start XCOM application
3) Connect to CAN by either
a. Select the menu choice File -> Connect to CAN
b. Press the ”F4” key
c. Press the keys ”shift” and ”F4”
4) If the user has the option setting ”display the select ECUs” is
enabled the ”Select ECUs” dialog will be displayed. If the shift + F4
were pressed the dialog will always be displayed.
5) In the ”Select ECUs” dialog the user can either…
a. Scan for all ECUs available on CAN (a functional SetSession
KWP command will be transmitted on CAN) by selecting the
radio button choice ”Connect to all ECUs on CAN” and
pressing the OK-button
b. Scan for those ECUs that has the check mark set in the list
(a physical SetSession KWP command will be transmitted to
the marked ECU’s CAN addresses) by selecting the ”I select
myself” radio button choice and press the OK-key.
If there are more than one VCI connected to the computer the user
can select which VCI to use when connecting to ECUs. The VCI ID
can be found on the back of the VCI.
6) The application now connects to CAN via KWP.
7) If the application detects ECUs with invalid configuration, a
message box will be displayed to query the user whether to allow
the application to correct the ECU or not. Pressing ”yes” will do the
modification (recommended) and ”no” will proceed the connect
sequence without any action.
8) The sequence is now complete and the connected ECUs are
shown in the ECUs menu and in the ECU explorer tree.
Additional information
| SERVICES INSTALLATION | MULTIPLE PCS BY YOURSELF & INCLUDED INSTRUCTION, Price For One PC and Install By Remote |
|---|
Related Products
-
Scania SDP3 2.69.1.2 2026 Marine and Industrial Engine Diagnostic Program
Price range: 90 through 220 USDSize: You need to prepare 10 GB of free space for installationType of Program: Diagnostic & Programmer SoftwareType of Machine: Marine and IndustrialInterface Database Languages: English, Deutsch, Spanish, Arabic, Finnish, French, Hungarian, Italian, Japanese, Korean, Dutch, Polish, Portuguese, Russian, Swedish, Tai, Turkish, Chinese, CzechVCI Interface: KvaserOS: Tested on Windows 11 64-bit and Windows 10 64-bit (Working Well)
REALEASE :
REALEASE :
-
Scania SDP3 2.69.1.2 2026 Truck and Bus Diagnostic Program
Price range: 90 through 220 USDSize: You need to prepare 10gb free space for installationType of Program: Diagnostic & Programmer SoftwareType of Machine: Truck and BusInterface Database Languages: English, Deutsch, Spanish, Arabic, Finnish, French, Hungarian, Italian, Japanese, Korean, Dutch, Polish, Portuguese, Russian, Swedish, Tai, Turkish, Chinese, CzechVCI Interface: KvaserOS: Tested on Windows 11 64-bit and Windows 10 64-bit (Working Well)REALEASE :
REALEASE :
-
Scania SDP2 Multi 2025 All Programs Combo
Price range: 250 through 500 USDHot
REALEASE :
REALEASE :
-
Scania SP2 2.32 02.2012 Programmer 2 Solution
Original price was: 50.40Current price is: 40. USDSize: 11 MB (WinRAR Files)Interface + Database Languages: EnglishType of Program: Programmer for ScaniaType of vehicle: TruckOS: Only Windows 7 32 & 64 bitDatabase of update: 02.2012Version: 2.32Make: ScaniaHow to Install: PresentInstallation: Multiple PCsHot-20%
REALEASE :
REALEASE :
-
Scania SDP3 2.68.3.2.0 2026 Marine and Industrial Engine Diagnostic Program
Price range: 90 through 200 USDSize: You need to prepare 10 GB of free space for installationType of Program: Diagnostic & Programmer SoftwareType of Machine: Marine and IndustrialInterface Database Languages: English, Deutsch, Spanish, Arabic, Finnish, French, Hungarian, Italian, Japanese, Korean, Dutch, Polish, Portuguese, Russian, Swedish, Tai, Turkish, Chinese, CzechVCI Interface: KvaserOS: Tested on Windows 11 64-bit and Windows 10 64-bit (Working Well)REALEASE :
REALEASE :
-
SCANIA PIN CODE DECRYPTION
Original price was: 200.140Current price is: 140. USDSCANIA PIN CODE DECRYPTIONHot-30%
REALEASE :
26.04.2022
REALEASE :
26.04.2022
-
Scania Program Tool SOPS XML Editor Modified
Original price was: 300.150Current price is: 150. USDThis is a editor program xml files, You can use it for repair the ECUHot-50%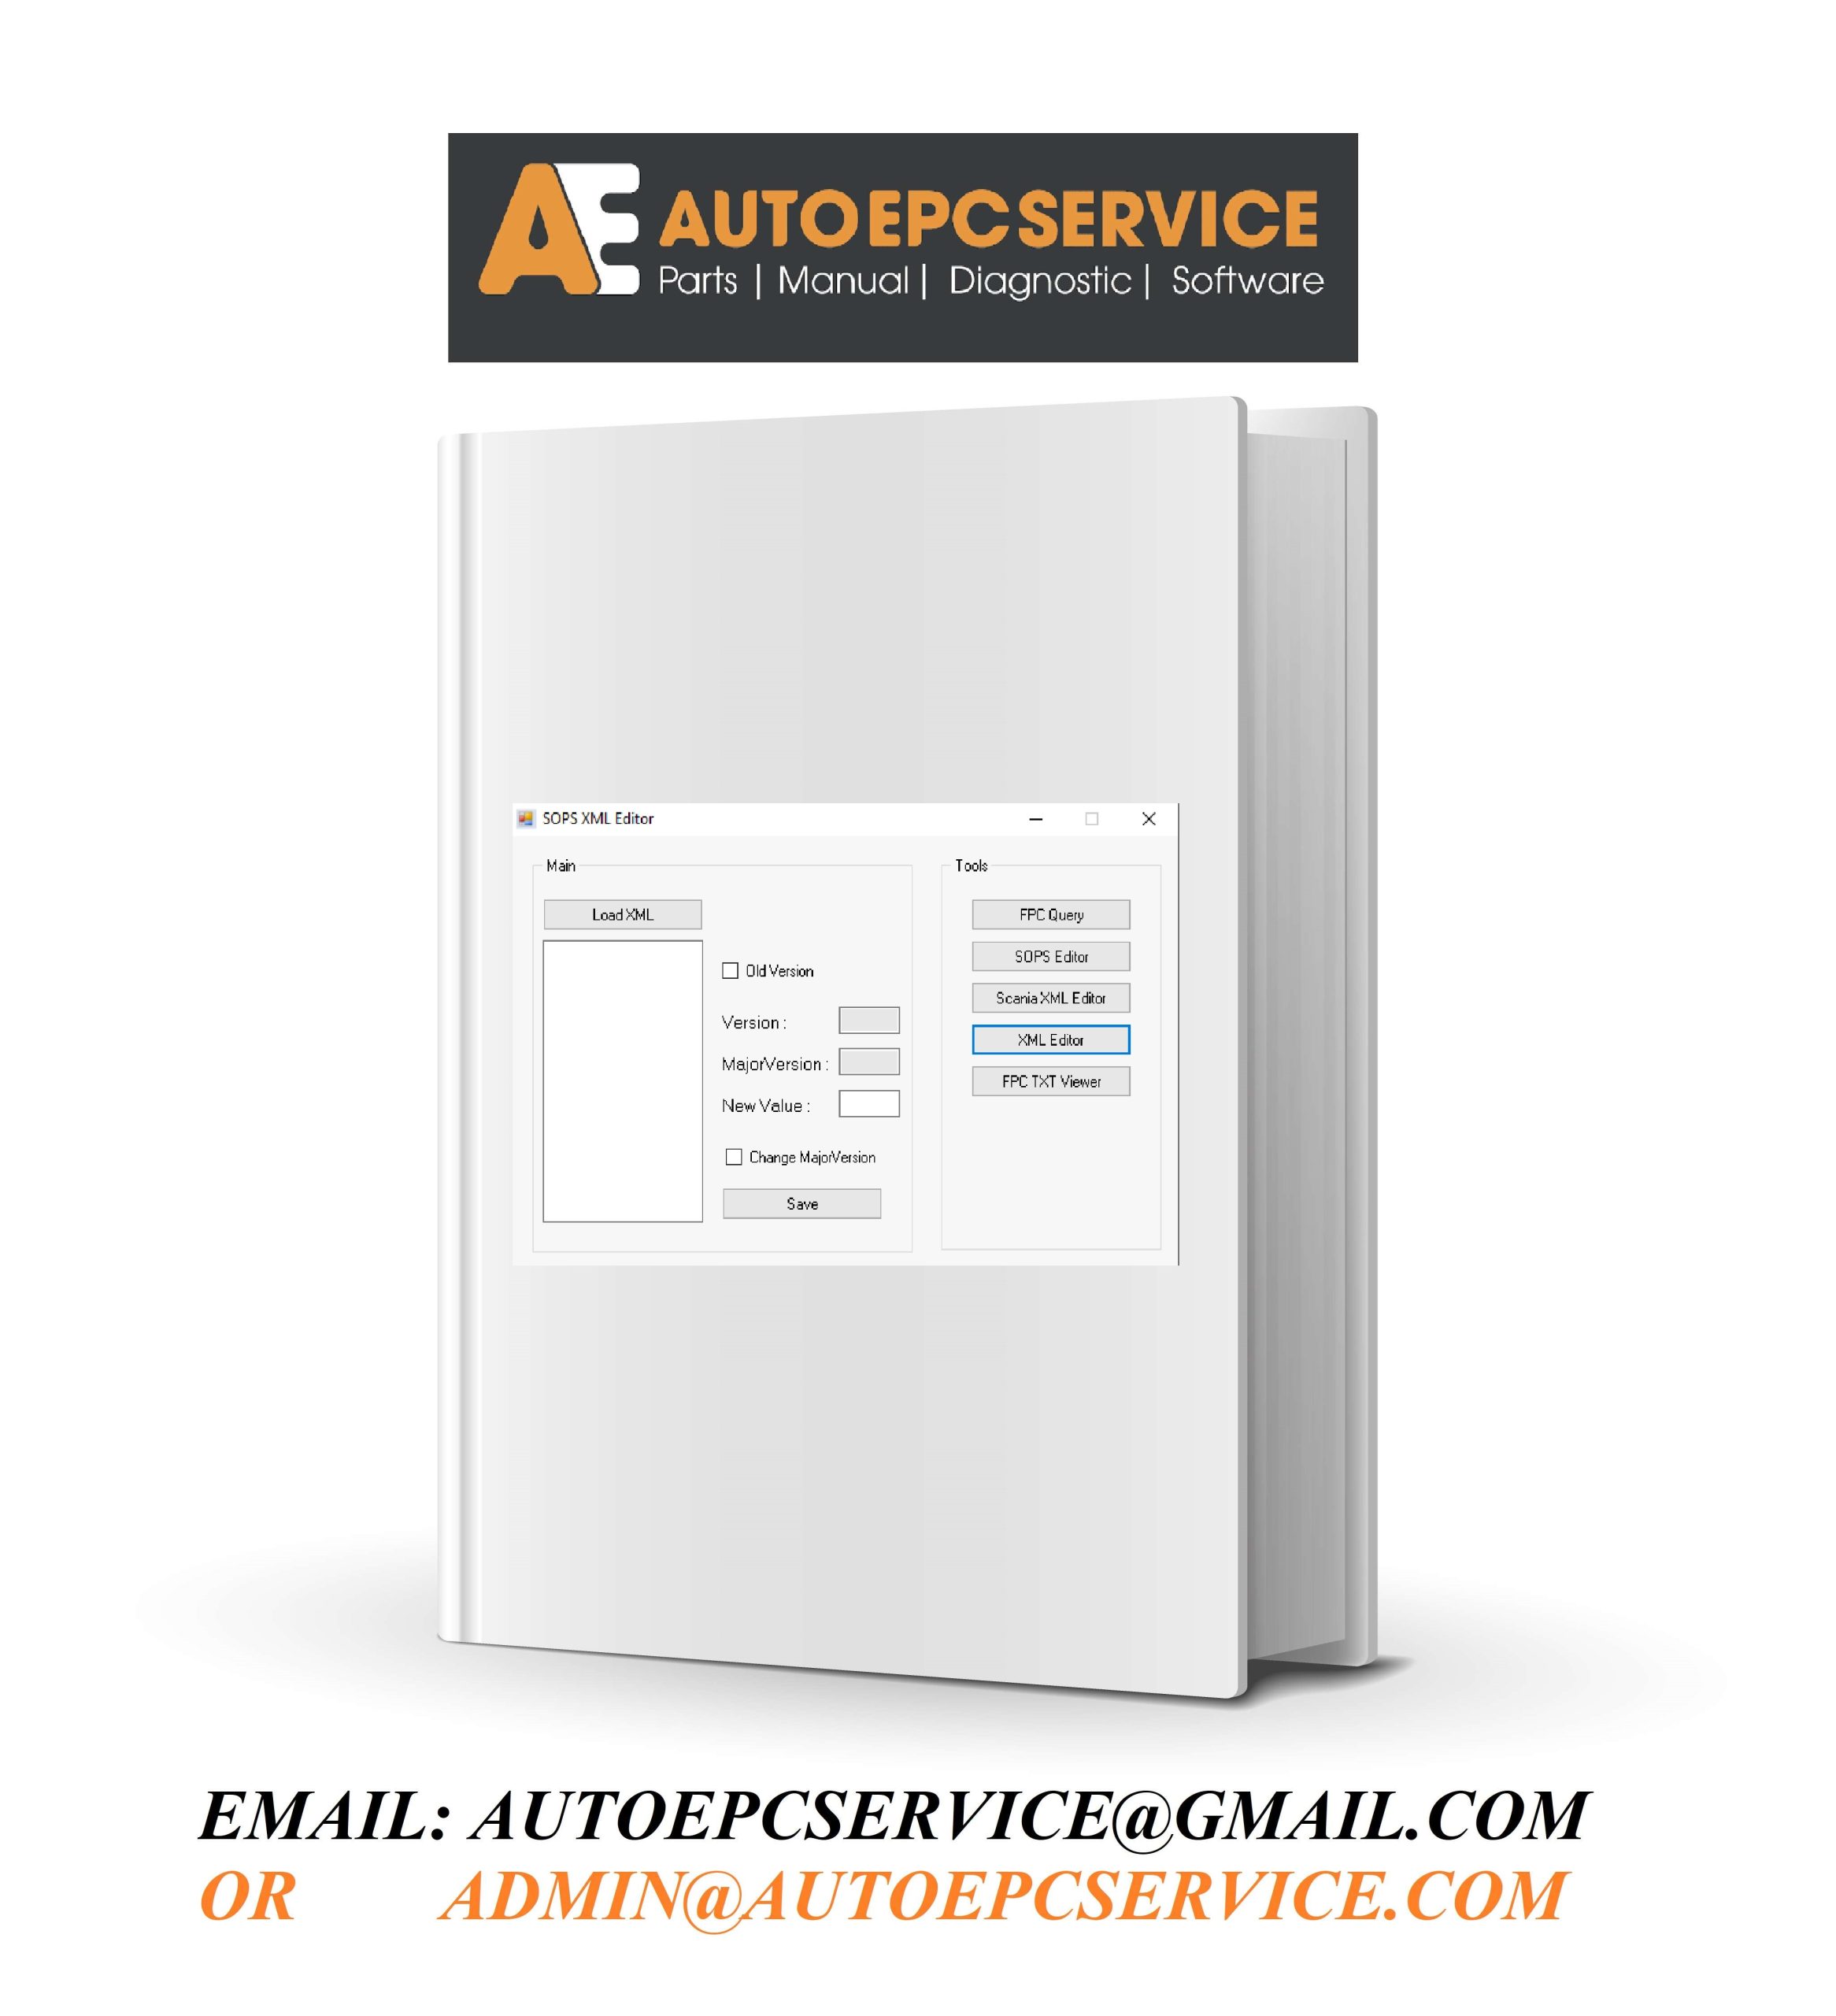
REALEASE :
REALEASE :
-
Scania SD2 2.36 02.2016 Diagnos 2 Solution
Original price was: 70.40Current price is: 40. USDSize: 22.5 MB (WinRAR Files)Interface + Database Languages: EnglishType of Program: Programmer for ScaniaType of vehicle: TruckOS: Windows 7, Windows 8, Windows 10, Windows 11 32 & 64-bit (Tested on Windows 10 64-bit English version)Database of update: 02.2016Version: 2.36Make: ScaniaHow to Install: PresentInstallation: Multiple PCsHot-43%
REALEASE :
REALEASE :